Pages

Showing posts with label Microwave. Show all posts

Monday, 1 June 2015

How to boil potatoes in a Microwave: Recipes for the bachelor's kitchen

Today I am going to share with you the recipe for boiling potatoes. Seriously?? Boiled potatoes!! Are you actually hearing me right?
You must be thinking I have lost my mind and wondering what has come over me? Anyone can boil potatoes, right? Who in the right mind would need a recipe for a simple thing like that? 
Well!! Well!! There are some people out there in this world who do need to be taught the very basics. To elaborate better my dear hubby!! 
Sometimes you feel life just isn't fair!! We had barely settled down here in Houston when my husband got a transfer to Indianapolis to start work on a new project. He had to move alone so that both our children could continue with their education here, especially since my daughter has just finished her first semester of college. Moreover the new project is just for a year and a half, after which, most probably we would have to move again, so in everyone's best interest, me and the kids decided to stay back in Houston and poor hubby will have to so hop-scotching between here and Indianapolis. 
Like most wives, the foremost worry on my mind was about his food. Luckily the place he is staying at provides the breakfast and lunch would be at office but what about dinner? Till now he has never had to stay alone or having had to cook for himself. Sure, he has always been a good apprentice around the kitchen, cutting, chopping but never really cooked a meal all by himself. Its not that I am doubting his capabilities, he sure can whip up a mean omelet, but sadly it doesn't stretch to anything much beyond that.  And unfortunately, like most hotel rooms, there is only a microwave and a refrigerator in the room and of course 'someone' just cannot imagine an omelet can be made in it. 
Eating out everyday just did not seem a very healthy option, so while he was packing his stuff I coerced him (literally forced you can say) to take a microwave safe glass bowl and a wooden spoon so atleast some sort of a meal can be prepared. After reluctantly packing the utensils came a zillion queries of "how much of this" and "how much of that" and "how many minutes", "how will I come to know when its done"?
I thought of this easy option of putting the recipes down in a post so at least whenever he gets stuck anywhere it will be easy to look it up. As it is most of the time when one is cooking  at home you don't really keep the time and measurements in mind as most of the times you just learn to eyeball it especially after so many years of cooking.
So from now on, some of the recipes on my blog are going to be very basic, quick and easy to whip up with the minimalist of fuss and most of the cooking done in the microwave.(Somehow people have the misunderstanding that microwaves are really meant for reheating. You will be amazed at what all can be prepared in the microwave).
When you see them, you will know exactly whom these recipes are targeted at!!
I am very confident that this might be a wasted effort and most of this is actually never going to be really put into practice and know in my hearts of hearts that most of the time it is either going to be dining out or take-aways but a gal or should I say a wife got to do what she gotta do!!
So here is to my dear hubby and many others who have undertaken this brave attempt to put their first step into experiencing our wonderful world of creating magic in the kitchen!! You can do it man!!

Ingredients
4-5 potatoes (you can always boil extra and keep in the fridge handy for later use or just eat them sprinkled with salt and pepper.
A microwave safe bowl

Instructions  (I just love using this word, sounds so powerful, especially if your husband is reading it)
Wash the potatoes clean under running water in a sink until the dirt is washed off.
Place the potatoes in a microwave safe bowl. You can either put them whole or dice hem into 1 to 2 inch cubes.
Fill the bowl with water approximately 2 to 3 inches above the potatoes.
Add 1/4 tsp salt.
Spray the top with cooking spray or add 1 tsp vegetable oil to ensure the water doesn't boil over while cooking.
Do not cover. Cook the potatoes for 12-13 minutes.
You will know the potatoes are cooked when you can easily pierce them with a fork.
Remove them from hot water and they are ready to be eaten. 
Congrats!! Now that the potatoes are boiled, here are some quick and simple ideas what you can do with them.
-You can toss them with some butter, lemon juice, salt and pepper and you have a great dish on your hand.
-Toss boil potatoes with a couple of spoons of pesto(pesto paste easily available in any grocery store in the vegetable section) and a little salt to eat.
-Toss boil potatoes with a little extra virgin olive oil, salt, pepper, minced garlic (don't worry this too is easily available in jars in the vegetable section) and any fresh herbs of your choice like mint, coriander, dill, rosemary, thyme etc 
-Cream potatoes or mash them with a fork, add a tbsp of sour cream and chives (chopped green of spring onions) These are also great as a topping on a slice of bread or bagel.
-Cut the potatoes into 1 inch cube Take 2 Tbsp yogurt, 1 tbsp Mayonnaise, salt to taste and mix it well. Take 1/4 cup chopped onion and 1/4 cup thinly chopped celery. Now combine the potatoes, onions and celery in the mayonnaise mixture till well coated. We have a great potato salad on our hands.

Easy wasn't it?
Wow!! now that we are off to a good start, I am sure you are looking forward to many more easy peasy recipes to enjoy your culinary adventures and basically to survive in this Big, bad World!!
Here's to many more adventures....

Tuesday, 11 September 2012

Black Forest Cake

I have just finished baking and decorating a Black Forest Cake for my dad-in-law's birthday and Boy!! Am I poofed out. This cake wasn't the one that I originally planned to make. In the morning, I begun with making a sugar free chocolate cake as my father-in-law has diabetes, thinking that it being his birthday today, he can actually enjoy the sugar free cake to his heart's content instead of having just an itsy bitsy tiny piece and that too under the watchful eyes of my mom-in-law. After baking, I wasn't very happy with with the way the cake turned out. Even though it was quite soft and moist, disappointingly it did not rise well (would it be because of the sugar free in the cake?). Looking at the time, it was almost 12'OClock in the afternoon and in two hours the kiddos would be back home from school and (not surprisingly enough) I wanted to finish off my cake before they came back. I decided to go in for my favorite Microwave Chocolate Cake which touchwood always works for me and till date has never failed to "rise to the occassion".
Quickly, I dumped in all the ingredients for the cake together in a mixing bowl, mixed it quickly with my hand mixer, put the bowl in the microwave (I use the same bowl for mixing that can also go in the microwave - saves time), crossed my fingers and waited. (I actually call this cake my "dump cake" as you can just dump in all the  ingredients together in a bowl, quickly whizzed it with a hand mixer for a minute, put it in the microwave and voila! you have a great cake ready in 10 minutes.)
 As always, the cake rose perfectly and was wonderfully moist and soft.
Thanking my stars that at least the first step of baking the cake was done, now on to the next step, that of decorating the cake. The first thought that came to my mind was to make a Chocolate Ganache and cover the cake with it. But then I gave up that idea as I had done the same icing on so many other occasions and also I wanted to try something new. As I didn't have much time left, I looked  through my grocery cupboard and found a Delmonte fruit cocktail tin. I had been wanting to try out a Blackforest cake since a very long time but somehow never got around to do so, I saw this as the perfect opportunity to do so now. I quickly whipped some cream ( I always have a packet or two of Amul cream in my grocery cupboard which I save for times like this), opened the fruit cocktail tin and fished out all the cherries from it, whipped some cream, grated some chocolate, just put everything together and within no time my cake was ready. (Of course, just made it till the icing part before the kiddos walked in from school and you can imagine what would have happened next. But even then, managed to salvage just enough cherries for the cake.)
The end product was a great looking and a great tasting cake completely to my satisfaction which as you can guess got a lot of "oohs" and "aahs" from everyone !!

Ingredients
For the chocolate cake:- 
100 gms flour
100 gms sugar
4 Tbsp cocoa
1 tsp coffee powder
4 eggs
1 tsp baking powder
1 tsp baking soda
½ cup oil
1 tsp vanilla essence
½ cup cold milk
1 tbsp vinegar
For the icing :-
400 gms whipped cream
200 gms canned cherries (pitted)
100 gms grated chocolate 
200 ml syrup or any juice to soak the cake

Method:
To make the cake:
Sift together all your dry ingredients – Maida, cocoa, coffee powder, baking powder and baking soda and keep them aside.
Add vinegar to the cold milk and put in the fridge till required.
 In a bowl, beat the eggs and sugar really well till the mixture is nice and  fluffy and creamy. Use a hand mixer for good results.
Pour in the oil and the milk and vinegar mixture and mix well.
Add the vanilla essence.
Take a wooden spoon and fold in carefully the dry ingredients into the egg mixture till well mixed.
Pour the batter into a greased microwave dish.
Bake in the microwave oven for 7-8 minutes. (Check after 7 minutes to see if it is done as every microwave has a different cooking time)
 Insert a toothpick to check if it comes out clean. If not done, bake for one more minute.
The cake should start pulling away from the sides and springs back when touched.
Cover the cake and leave it in the microwave for 5 -10 minutes. Once the cake is completely cool, cut it horizontally into three even layers.


To Assemble
Place a layer of cake on a cake plate. Sprinkle with 2-3 teaspoons of the cherry juice to moisten the cake. Cover the cake layer completely with 1/3 whipped cream. Spread some cherries on top of the whipped cream.
Repeat the same with the second and the third  layers.
Cover the entire cake with the remaining whipped cream.
Gently press the chocolate shavings on the sides and top of the cake till fully covered.

                              
Decorate the top with cream swirls and cherries.
For best results refrigerate for 3-4 hours before serving.


Monday, 23 January 2012

Dark chocolate cake with whipped cream


Another occasion - another cake for me to bake and decorate !! I'M LOVING IT !!
Today, we celebrated my parents 45th wedding anniversary and to celebrate their long beautiful journey together I made this dark chocolate cake decorated with whipped cream.
 Earlier, due to my job, I just never had the time or the energy to indulge myself in  the things that I really wanted to do, but now, I thoroughly enjoy every minute of it. Also, there is something about turning 40, that makes you re-evaluate your life and makes you wonder, "Hey, why is there ever no time for myself ? Why haven't I ever got around to do the things that I had planned. Seriously, life is too short and too beautiful to let it waste away. Time to throw caution to the winds, strip away your security blanket, take some time out from the mechanical humdrum of life and just follow your heart, do things that you have always wanted to do in life, things that make you happy inside.I am so glad that I am finally able to do it. 
So, celebrate the sweetness of life with this lovely decadent chocolate cake.


Ingredients
For the cake
2 cups sugar
1 3/4 cups flour
3/4 cup cocoa                                                      
11/2 tsp baking powder
11/2 tsp baking soda
1 tsp salt
3 eggs
1 cup milk
1/2 cup vegetable oil                                              
2 tsp vaniila essence
1/4 cup boiling water
1 tsp caramelized sugar syrup
For the whipped cream
11/2 cup heavy cream, chilled
1/2 cup powdered sugar
2 tsp vanilla essence

Method
Mix together the sugar, flour, cocoa powder, baking powder, baking soda and salt in a large bowl.
Add eggs, milk, oil,  vanilla essence and caramel syrup and beat well with a hand mixer for 5 minutes till well mixed.
Stir in the boiling water and mix again.
Pour the batter into a microwavable dish and microwave on high for about 8 minutes or till the cake starts leaving the sides of the dish.
Leave to cool  completely inside the microwave.
To make the whipped cream, combine the cream, sugar and the vanilla essence and whip till soft to almost stiff peaks are formed. Refrigerate till needed.
Once the cake is cooled completely, take it out of the dish.
Slice the cake horizontally into two equal parts.
If needed level the top layer and place the bottom layer on a serving platter.
Cover the bottom layer with a generous amount of whipped cream.
Place the second layer on top, and frost the entire cake with the remaining whipped cream.
Decorate with whipped cream swirls and chocolate shavings.     


Wednesday, 11 January 2012

Chocolate cake with Truffle icing


I wanted to write a post on the first day of the New Year but somehow got so caught up with family and friends and not to forget, lots of merrymaking  that before I knew we were already 10 days into the first month. But better late than never.... Here's wishing all my friends an amazingly great 2012 !! Also wishing everyone loads of joy and happiness for the coming year. Lets all work towards making our dreams turn into reality and efforts into great achievements. Most importantly, lets learn to enjoy what we do and do what we enjoy.Three cheers to cooking lots of good food and trying out new recipes and not to forget eating it too !!
  Try out this lovely dark chocolate cake with the lovely melt in the mouth icing which I made for my husband's birthday on the 5th of January. The secret of this lovely rich gooey chocolatey cake lies in its icing, the recipe of which I managed to get out of our local bakery shop  (God bless him!!). He was sweet enough to let me stand inside the bakery and let me watch his bakers cut and ice the cakes and pastries.I just can't describe what a wonderful experience it was. It was almost like a Masterchef class was being held there right in front of me. They made everything look so simple and effortless. It was an amazing to see with what great speed and precision they shaped and decorated about 120 pastries in just about no time at all. I wish I had a camera with me at that time to capture everything and put it on my blog. Maybe next time.Anyways, it was a real wonderful treat for me.
It looked so easy that time but when I tried the same icing at home, I could not get the same finish as theirs but the taste was really great. Definitely, lots of practice needed !! Sadly, I could not take any picture while assembling my cake as the camera had absolutely no batteries and I didn't have the patience or the time to wait for the batteries to get charged as I wanted to get the cake finished quickly.
Enjoy this recipe and when you do make it, I can assure  you that you will just not be able to stop licking your fingers.

Ingredients
For the chocolate cake
100 gms flour
100 gms sugar
4 Tbsp cocoa
1 tsp coffee powder
4 eggs
1 tsp baking powder
1 tsp baking soda
½ cup oil
1 tsp vanilla essence
½ cup cold milk
1 tbsp vinegar
For the icing
2 cups whipped cream
2 cups chocolate Ganache

 Method

Sift together all your dry ingredients – Maida, cocoa, coffee powder, baking powder and baking soda and keep them aside.
Add vinegar to the cold milk and put in the fridge till required.
 In a bowl, beat the eggs and sugar really well till the mixture is nice and  fluffy and creamy. Use a hand mixer for good results.
Pour in the oil and the milk and vinegar mixture and mix well.
Add the vanilla essence.
 Take a wooden spoon or a wooden spatula and fold in carefully the dry ingredients into the egg mixture till well mixed.
Pour the batter into a greased microwave dish
 Bake in the microwave oven at HIGH  for 7 minutes. Insert a toothpick to check if it comes out clean. If not done, bake for one more minute.
The cake should start pulling away from the sides and springs back when touched.
Cover the cake and leave it in the microwave for 5 -10 minutes.
Let it cool nicely before doing the icing.


To assemble the cake
Before you begin icing, place your cake on a flat surface.
Before splitting your cake, level it. This simply means: trim the top of your cake so it is perfectly flat. The easiest way to do this is to find the lowest part of the cake and hold your knife parallel against the low edge, then begin pulling your knife back and forth as you move it across the surface of the cake.  You should be left with both a level cake and a delicious piece of trim.
Now, flip the cake over so the top area you just trimmed is now the bottom, resting on the flat surface you chose and the top is absolutely leveled
Now take a long knife and cut the cake horizontally in three equal parts.
Place the first layer onto a plate or stand. Fully frost the top of the first layer with the chocolate ganache.
Place the second layer on top of the first layer. Frost the top of the second layer using another 1/4 of the frosting. Repeat with the third and final layer.
Once the three layers are stacked up, take the whipped cream and cover the sides and top generously with the icing.
Smoothen the icing on the top and the sides of the cake so that it is evenly spread.
Now take the chocolate ganache frosting (make sure it is a spreadable consistency and not too thick ) and pour it generously on top of the iced cake, letting the extra drip on to the sides. 
Smoothen the top of the cake with a spatula or a knife.
Next, take a cake "comb" -- a metal triangle with teeth on all three edges -- and quickly drag it around the sides of the cake. (Be careful to do it with a light hand and not too many times, otherwise the whipped cream below would start showing as you can see is showing on my cake)
Add garnishes or piping, if desired, and you have a cake that takes the cake.


Wednesday, 17 August 2011

Chocolate cake with Mocha icing

  
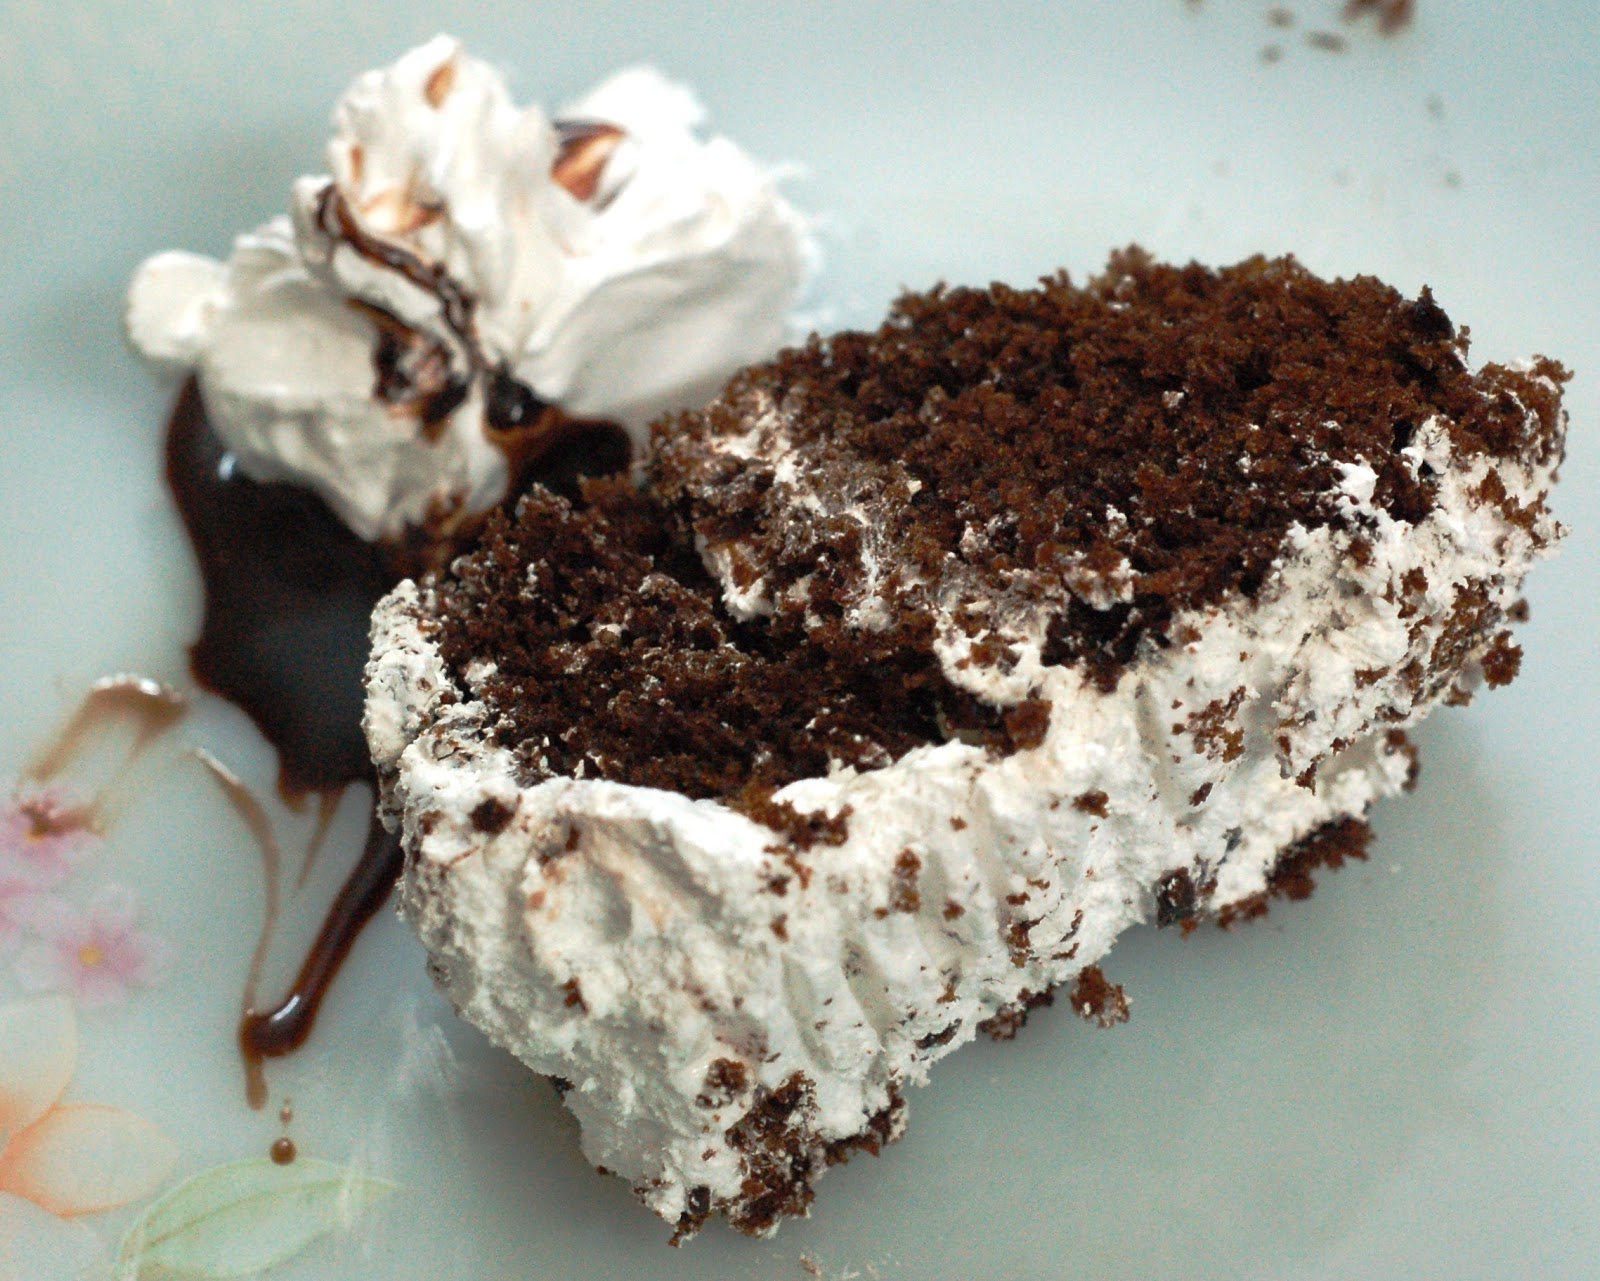
This is one of my most favorite recipe of a chocolate cake. It is really simple and quick to make as it is a microwave recipe and can be made in just 8 minutes. Especially great for those of you, who are working and are looking for something quick and easy, which is great in taste too. The icing too is extremely easy to make. I taught it to kids in their after-school activity and believe me it was a gr8 hit. This cake is also excellent to use as a base for your chocolate puddings.

For the chocolate cake:-
100 gms flour
100 gms sugar
4 Tbsp cocoa
1 tsp coffee powder
4 eggs
1 tsp baking powder
1 tsp baking soda
½ cup oil
1 tsp vanilla essence
½ cup cold milk
1 tbsp vinegar

Method:
Sift together all your dry ingredients –Maida, cocoa, coffee powder, baking powder and baking soda and keep them aside.
Add vinegar to the cold milk and put in the fridge till required.
 In a bowl, beat the eggs and sugar really well till the mixture is nice and  fluffy and creamy. Use a hand mixer for good results.
Pour in the oil and the milk and vinegar mixture and mix well.
Add the vanilla essence.
 Take a wooden spoon or a wooden spatula and fold in carefully the dry ingredients into the egg mixture till well mixed.
Pour the batter into a greased microwave dish
 Bake in the microwave oven at HIGH (100%) for 7 minutes. Insert a toothpick to check if it comes out clean. If not done, bake for one more minute at MEDIUM (70%).
The cake should start pulling away from the sides and springs back when touched.
Cover the cake and leave it in the microwave for 5 -10 minutes.
Cool and decorate it with Mocha icing or any other icing of your choice.

Mocha Icing
 4 tbsp cocoa powder
50 gms unsalted butter
1 tsp coffee
1 cup icing sugar – sifted
2-3 tbsp chopped walnuts (optional)
To soak – ¼ cup coke or any other cola

Method
Soak the chocolate cake with the cola
Microwave 4 tbsp water in a bowl for 1 minute.
Add coffee and mix.
Add cocoa and butter to it and mix well. 
Return to and microwave for 1 minute or till butter melts.
Gradually add the sifted icing sugar. Mix well.
Glaze the chocolate cake with the icing.
 Decorate with walnuts.
Refrigerate until glaze is set.


Serve it and see how quickly it disappears!!